

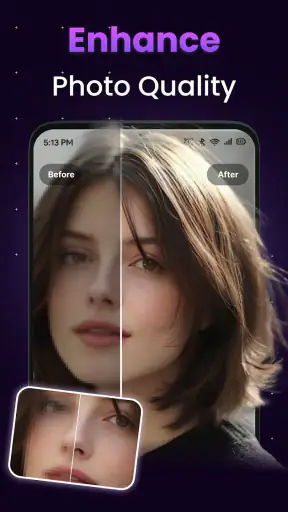
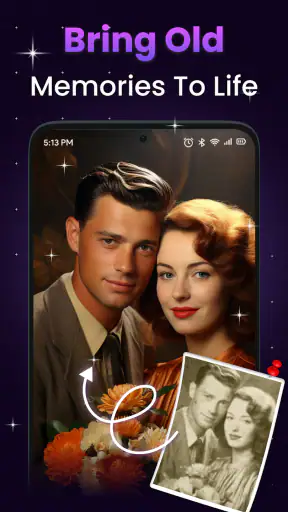
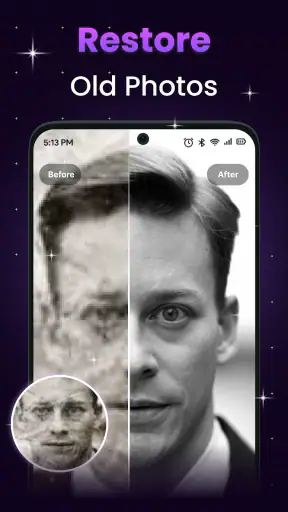
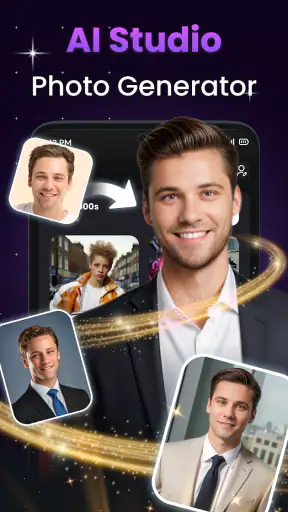
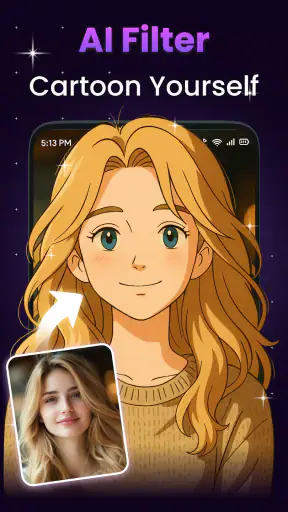
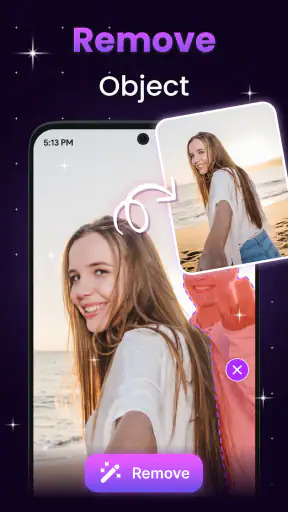


I approached AI Photo Enhancer & AI Studio as a practical photography tool rather than a magic repair button. Its purpose is easy to understand: take an old, blurry, noisy, pixelated, or generally weak image and try to make it more usable. In my experience, that idea is most valuable when the original picture has sentimental importance but poor technical quality, such as a scanned family print, an enlarged crop, or a photo saved too many times through messaging apps.
The app is free to install and comes from Zetfun Studio. It belongs to the photography category, carries an Everyone age rating, and supports Android devices running version 8.0 or later. Its average rating is 4.2 from around 17 thousand ratings, and it has passed the one-million-install mark. Those figures suggest that it has reached a broad audience, but they do not remove the need to understand what this kind of enhancement can and cannot do.
My main takeaway is that the results depend heavily on the starting image and on how carefully you prepare it. The best results come from treating enhancement as a controlled workflow, not a single tap. If you expect a damaged face or unreadable background to be reconstructed perfectly, disappointment is likely. If you want to improve a meaningful picture enough to view, share, or print more comfortably, the app is much easier to appreciate.
Where the experience usually gets stuck
The first problem is often the image itself
When an enhancement appears weak, it is tempting to blame the application immediately. I would first inspect the source photo. A tiny image copied from a social network, a screenshot of a screenshot, or a picture photographed from a glossy print may already contain several layers of softness and distortion. An AI enhancer can interpret that material, but it cannot reliably recover every detail that was never captured.
This matters especially with faces. A face that is merely soft can sometimes look clearer after processing. A face with heavy motion blur, harsh compression blocks, or a large object covering the eyes is a different challenge. The app may produce a cleaner-looking result while still guessing at important features. I would use the output as an improved version of the original, not as unquestionable evidence of what the person looked like.
Choosing the wrong starting file creates avoidable friction
For a photo stored in several places, I recommend beginning with the original file from the camera, phone gallery, or scan rather than the copy received in a chat. Keep the full image if possible. Cropping too aggressively before enhancement can leave the system with less context, particularly around hair, clothing, and the edges of objects.
There is also a useful trade-off between a full scene and a subject crop. A family group in a wide landscape may receive a general improvement, but individual faces can remain small. For a portrait detail, a carefully made crop may give the processing more subject area to work with. I would keep both versions: the untouched original and the prepared copy. That makes it easier to compare the output honestly and return to the source if the result becomes artificial.
Why some outputs look sharper but less natural
Sharpness is not the same as accuracy. Enhancement can emphasize edges, contrast, and facial structure, which may make a picture feel clearer at first glance. At a closer look, hair can become too uniform, skin can lose its natural texture, and small patterns on clothing can turn into invented marks. This is one of the most important limitations to watch for with AI-based photo repair.
I prefer judging the result at the size where I will actually use it. If the image is intended for a contact picture or a casual message, a slightly processed appearance may be acceptable. If it is meant for a large print or a family archive, zoom in on eyes, teeth, hair, text, and repeated patterns before deciding. A result that looks impressive as a thumbnail may not hold up when examined closely.
When access or processing appears to fail
If an image does not open, an operation stops, or the result does not appear immediately, I would avoid repeatedly tapping the same control. First return to the image selection step, confirm that the intended file is still selected, and try a smaller or more conventional copy made from the original. This is general troubleshooting rather than a promise about a particular error message, but it often separates a problematic source file from a temporary processing issue.
It is also sensible to leave the app open while an operation completes and avoid switching rapidly between several demanding applications. Photo processing can be more sensitive to available device resources than ordinary browsing. If the problem repeats with one picture but not another, the picture is the stronger suspect. If every picture behaves the same way, restarting the app and checking the basic device requirements is a reasonable next step.
Setup checks that make the workflow more reliable
Start with the device requirements
AI Photo Enhancer & AI Studio supports Android 8.0 and newer. Before troubleshooting anything more complicated, I would check the Android version and ensure the app has been installed from the normal app source. A device that meets the minimum requirement may still feel less comfortable with demanding image work than a newer phone, so patience and available storage can matter even when installation succeeds.
I would also make room for both the source file and the processed copy. The app is free to install, but image work still involves files that need somewhere to be read from and saved to. If the phone is nearly full, saving may be less reliable across many apps. Clearing a little space, closing unused applications, and trying again with one image at a time are sensible preparation steps.
Prepare a clean test image
For a first test, choose a picture with a visible subject, moderate size, and obvious imperfections. A slightly blurry portrait or an old but reasonably legible photograph is more useful than the most damaged image in your collection. This gives you a fair reference for the app’s behavior and helps you recognize whether a later failure comes from the file rather than from your setup.
I would avoid testing with a private image that cannot be replaced or recreated. Keep the original untouched and work from a duplicate. That habit is valuable because enhancement is interpretive: even a successful output may not be the version you ultimately prefer. Comparing the original, the processed copy, and a lightly edited alternative gives you more control than relying on a single generated result.
Be deliberate about image preparation
Before processing, correct obvious problems that do not require AI interpretation. If the picture is sideways, orient it properly. If a thick border or an unrelated empty area dominates the frame, make a restrained crop. Do not remove important context simply to make the subject larger. The goal is to present the app with a clear, useful source, not to force every image into a portrait format.
For scanned prints, glare and uneven lighting can be more damaging than low resolution. If you can rescan or rephotograph the print, do that first with even light and a steady phone. For a digital file, avoid repeatedly exporting it through different editors before enhancement. Each extra save can introduce compression, and no sharpening tool can fully reverse that chain of damage.
Understand the free and paid boundary before committing
The application is free, with in-app purchases listed from $1.99 to $59.99 per item. I would check the purchase screen carefully before confirming anything, especially if you are testing several images and are unsure which tools or output options require payment. A free installation does not mean every part of the editing journey is included at no cost.
My practical advice is to test the app on a small number of representative photos first. Decide whether the visual improvement is good enough for your purpose before spending money. Someone restoring a handful of treasured pictures may reach a different conclusion from someone processing a large archive. The important point is to judge the actual output on your own images rather than assuming that a paid step will fix a poor source.
Keep expectations aligned with the age rating and purpose
The Everyone rating makes the app approachable for general household use, including simple family-photo projects. That does not make it a professional restoration suite. I would be comfortable recommending it for casual improvement, memory preservation, and preparing images for ordinary sharing. I would be more cautious about relying on it for forensic work, historical restoration where accuracy is critical, or commercial retouching that demands precise control over every texture.
Recovering a workflow when the result is disappointing
Change one variable at a time
When the first output is poor, many people immediately crop, resize, sharpen, recolor, and process again. That makes it impossible to know what helped. I prefer a simpler recovery method: return to the original, make one restrained change, and compare the new output with the previous attempt. If the original was a tiny crop, try the uncropped file. If it was a scan with a border, remove only the distracting edge. If the subject was lost in a wide scene, create one focused crop and test that separately.
This approach reveals whether the app works best on the whole composition or on a subject-focused image. It also prevents a common mistake: enhancing an already enhanced file. Repeated processing can magnify invented detail and produce a plastic appearance. Always keep the untouched source available and restart from it when an experiment goes in the wrong direction.
Use comparison instead of memory
Human perception is easily influenced by the newest version we see. A processed picture may feel better simply because it is brighter or more contrasty. I recommend placing the original and result side by side, then checking the same areas: eyes, hair, hands, signs, fabric, and background edges. Ask whether the app restored useful information or merely made the image more forceful.
A helpful everyday example is an old family photo needed for a birthday slideshow. I would process a duplicate, view it at slideshow size, and check whether faces remain recognizable without strange smoothing. If it looks convincing from a normal viewing distance, that may be enough. I would not enlarge it dramatically and present the result as a faithful reconstruction of every facial detail.
Recovering from a file that will not behave
If one image repeatedly causes trouble, create a fresh copy using a basic gallery or image editor, then try that copy. Keep the dimensions and composition as close to the original as possible. This can help determine whether the issue is tied to the file container or to the image content. I would not keep overwriting the only copy while testing, because recovery becomes harder if the source is accidentally replaced.
If the app closes or becomes unresponsive, restart it and test with a different, uncomplicated picture. A successful test with another file points toward the original image. If the simple test also fails, restart the phone and confirm that the operating system meets the minimum requirement. These steps are intentionally basic, but they are safer than downloading unknown “fix” tools or deleting personal photos in an attempt to solve the problem.
Know when to stop processing
There is a point where another pass does more harm than good. If skin becomes waxy, lettering changes shape, or repeated patterns turn into visual noise, I would keep the earlier version or the original. The most attractive result is not always the most accurate one. For memories, I often prefer a modestly clearer image with visible imperfections over a technically sharper image that changes the character of the photograph.
This is also where a conventional editor may be better. A basic photo editor gives you direct control over exposure, contrast, crop, and color, which can be preferable when the image is already detailed but poorly lit. AI enhancement is more useful when softness, noise, or low resolution is the central problem. Choosing the right tool for the defect saves time and preserves a more natural look.
When the app is not the cause
Blur caused by movement needs a different expectation
Motion blur is not simply a lack of sharpness. When a subject moves during capture, edges are displaced across the frame. An enhancer may make those edges more pronounced, but it cannot reliably know the exact original position. For a moving child, pet, or nighttime street scene, I would treat any improvement as approximate. A dedicated deblurring workflow or a better original exposure may be more appropriate when accuracy matters.
Low light can create misleading detail
Noise in a dark image can resemble texture. If the app reduces that noise and increases clarity, the picture may look cleaner, but subtle details can disappear. Conversely, sharpening may turn grain into speckles. Before processing, I would decide whether the priority is a smoother social-media image or preservation of the scene’s atmosphere. For an old photograph, retaining some grain may look more honest than removing every trace of it.
Text and small objects deserve special caution
If you are trying to recover a sign, document, license plate, or tiny object, do not assume that a clearer-looking output is readable or accurate. AI enhancement can create plausible letter shapes and edges. I would use the result as a visual aid, then verify important information against the original or another source. For ordinary memories this limitation may be harmless; for decisions based on exact text, it is a serious reason to choose a more controlled method.
Color problems may need ordinary editing first
A faded print, yellow indoor photo, or image with a strong color cast may benefit from basic correction before enhancement. If the subject is too dark or the white balance is far off, the app has a harder interpretation task. I would make a gentle exposure or color adjustment on a copy, avoid aggressive sharpening, and then compare the enhanced version with the unprocessed correction. Sometimes the conventional edit is the real improvement, while the AI pass adds only a small benefit.
Privacy and personal judgement still matter
When working with family portraits or sensitive pictures, I would think carefully about whether the chosen workflow suits the image. Avoid processing more personal material than necessary, preserve the original locally, and review the final picture before sharing it. The app’s Everyone rating speaks to general suitability, but it does not replace your own judgement about which photographs should be edited or distributed.
My practical verdict after using it as a repair tool
I see AI Photo Enhancer & AI Studio as a convenient first attempt for people who have meaningful images that are too soft, noisy, or small for comfortable everyday use. It is particularly appealing when you want a quick improvement without learning a complex desktop restoration program. The free entry point makes it easy to test, and Zetfun Studio has positioned it clearly within mobile photography rather than asking users to assemble a complicated editing workflow.
Its strongest use case is not miraculous recovery. It is the modest rescue of a usable picture: making a face easier to recognize, helping an old image look better in a digital album, or preparing a low-quality photo for a message. I would recommend starting with realistic material, comparing every result against the original, and keeping the version that looks natural rather than automatically choosing the sharpest one.
I would skip it, or at least look for a more specialized alternative, if you need exact restoration, dependable text recovery, detailed manual retouching, or professional control over color and texture. A traditional editor is better for precise adjustments, while a dedicated restoration program may be preferable for serious archival work. The app is also not the right answer when the real problem is a missing or badly captured original; no enhancement workflow can guarantee faithful detail from information that was never recorded.
The current version is 3.8.229, and the app has been available since November 29, 2022. I would treat those details as useful context when checking compatibility, but the more important test is personal: use a duplicate of a representative photo, try a restrained preparation, and inspect the output at its intended viewing size. My recommendation is positive for casual photo rescue, provided you value convenience and accept that AI may interpret details rather than truly recover them.
For a friend asking whether to install it, I would say yes if the goal is to improve a few old or low-quality pictures quickly. I would explain the purchase range before they commit to paid items, remind them to keep untouched originals, and suggest stopping as soon as the image begins to look artificial. Used with that discipline, this free photography app can be genuinely useful; used as a promise of perfect restoration, it is likely to create more frustration than clarity.


